
Easy Tuna Melts
Easy Tuna Melts Recipe
There’s something wonderfully comforting about a warm tuna melt. It’s the kind of meal that brings back memories of family gatherings and lazy lunch days. With just a few simple ingredients, you can whip up a delicious, cheesy sandwich that’s sure to satisfy your cravings.
Whether you’re rushed for time or just looking for a quick snack, this Easy Tuna Melts recipe is not only simple to make but is also packed with flavor. Let’s dive into this delightful culinary adventure!
Recipe Information
- Prep Time: 10 minutes
- Cook Time: 5 minutes
- Total Time: 15 minutes
- Servings: 2
- Difficulty Level: Easy
Nutrition Information
- Calories per serving: 350
- Protein: 20 grams
- Carbohydrates: 30 grams
- Fat: 18 grams
- Fiber: 2 grams
- Sugar: 2 grams
- Sodium: 600 mg
Why I Love This Easy Tuna Melts
I adore this Easy Tuna Melts recipe because it feels like a hug on a plate! The combination of creamy tuna, crunchy celery, and melted cheese is simply irresistible.
It’s one of those dishes that can easily be customized based on what you have in your pantry, making it perfect for those busy days when you want something hearty yet effortless.
Plus, I love how quick and fun it is to make—just a few minutes under the broiler, and you’ve got a fantastic meal or snack that’s perfect for any time of day.
Ingredients
- 1 can of tuna, drained
- 2 tablespoons mayonnaise
- 1 tablespoon Dijon mustard
- 1/4 cup chopped celery
- 1/4 cup chopped onion
- Salt and pepper to taste
- 4 slices of bread
- 1 cup shredded cheese (cheddar or your choice)
- Butter for spreading
How to Make Easy Tuna Melts
Step 1: Prepare the Broiler
First, you’ll want to preheat your broiler. This ensures your sandwiches get nice and bubbly on top while still being golden brown on the outside.
Step 2: Mix the Tuna Filling
In a bowl, combine the drained tuna, mayonnaise, Dijon mustard, chopped celery, chopped onion, and season with salt and pepper. Mix everything until well combined. The crunch of the celery adds a delightful texture!
Step 3: Assemble the Sandwiches
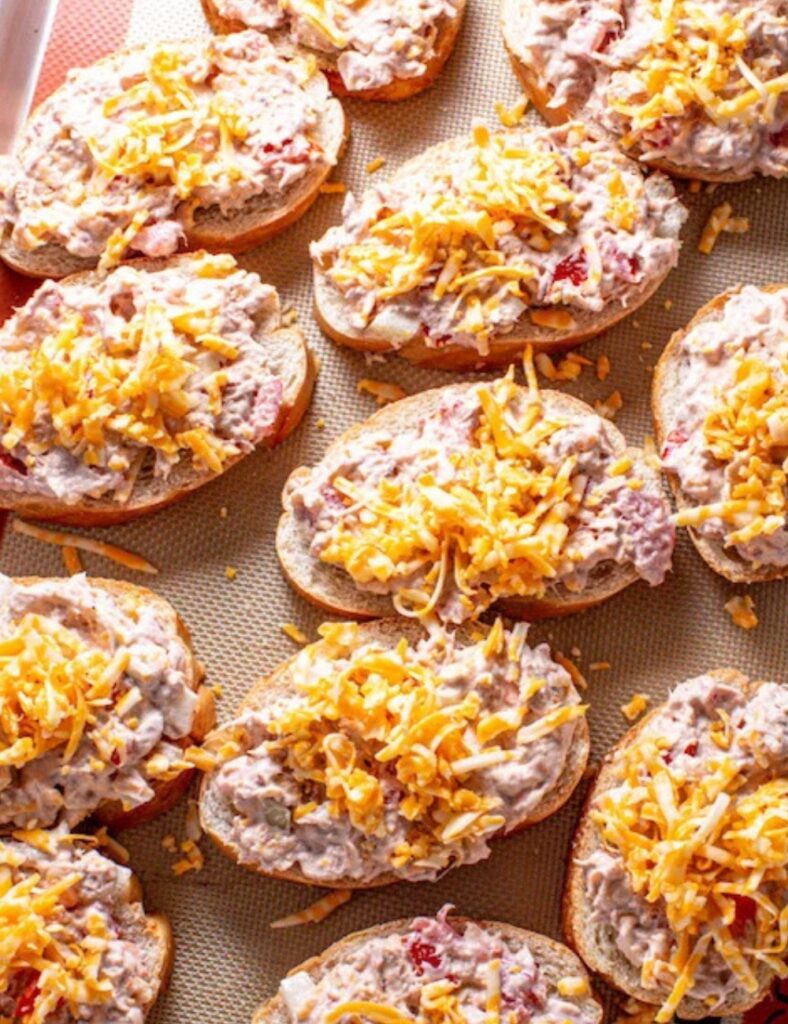
Spread the tuna mixture evenly on each slice of bread. Don’t be shy—make sure it’s piled high for the best flavor!
Step 4: Add the Cheese
Sprinkle a generous amount of shredded cheese over the top of each slice. This is where the magic happens!
Step 5: Butter the Bread
Butter the outer sides of the bread slices. This step is key for achieving that crispy, golden-brown exterior.
Step 6: Broil the Sandwiches
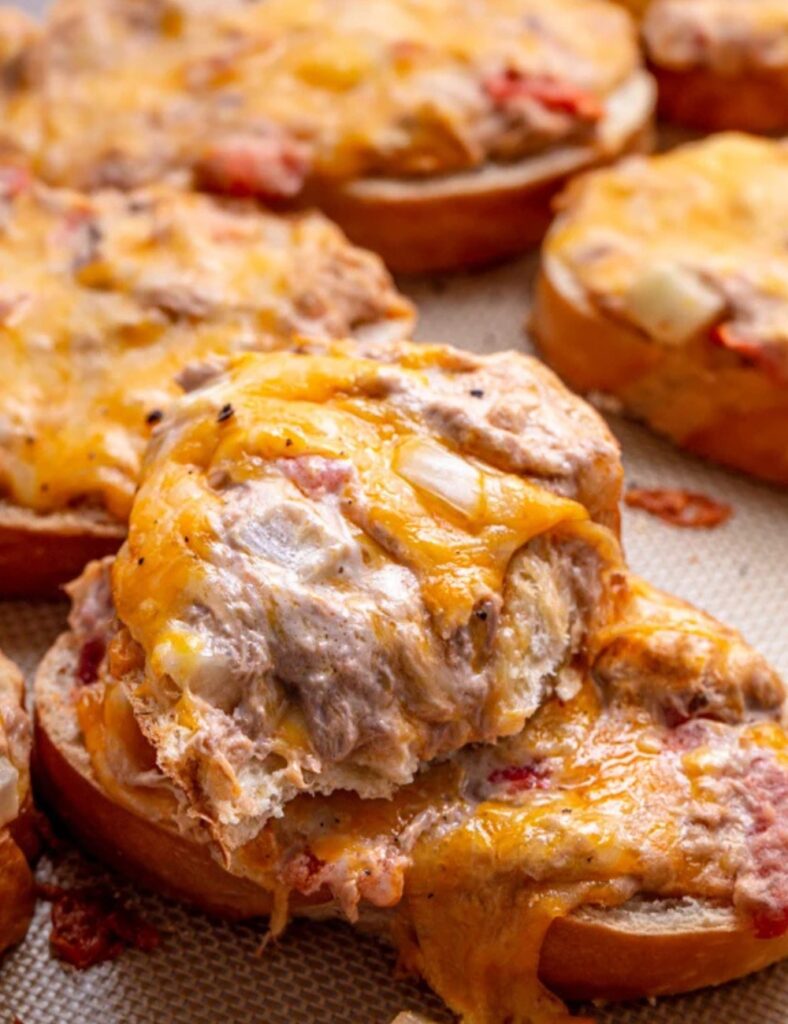
Place the sandwiches under the broiler for 3-5 minutes, or until the cheese is melted and bubbly. Keep a close eye on them to prevent burning!
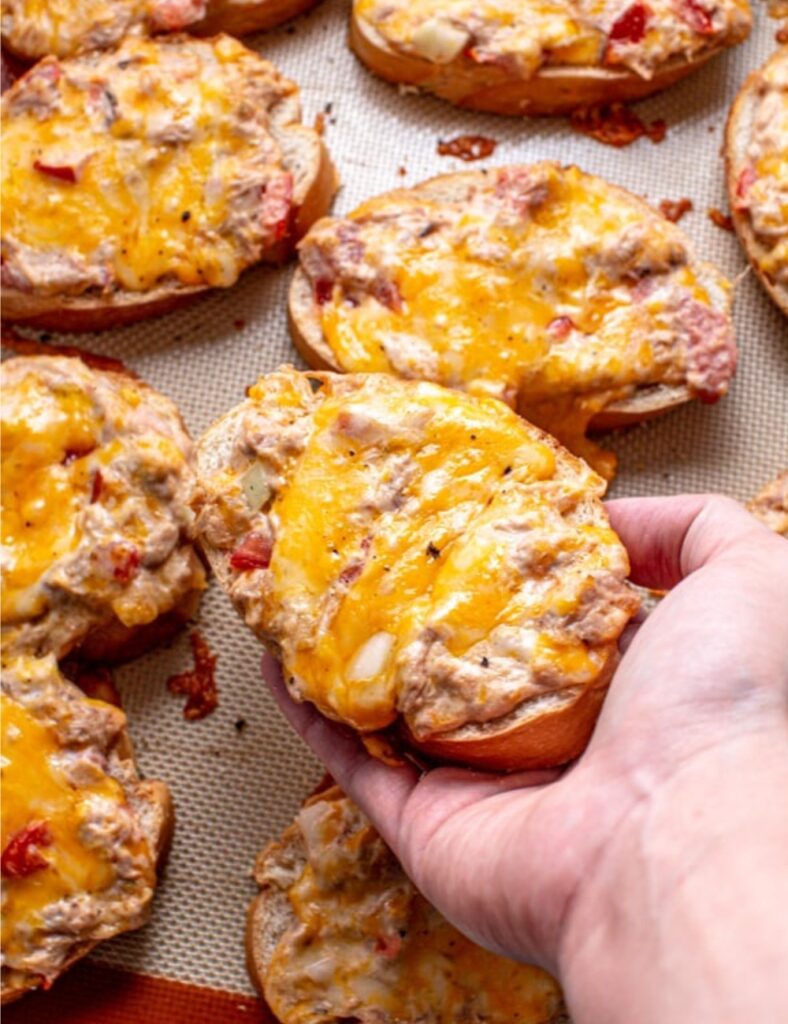
Step 7: Serve and Enjoy
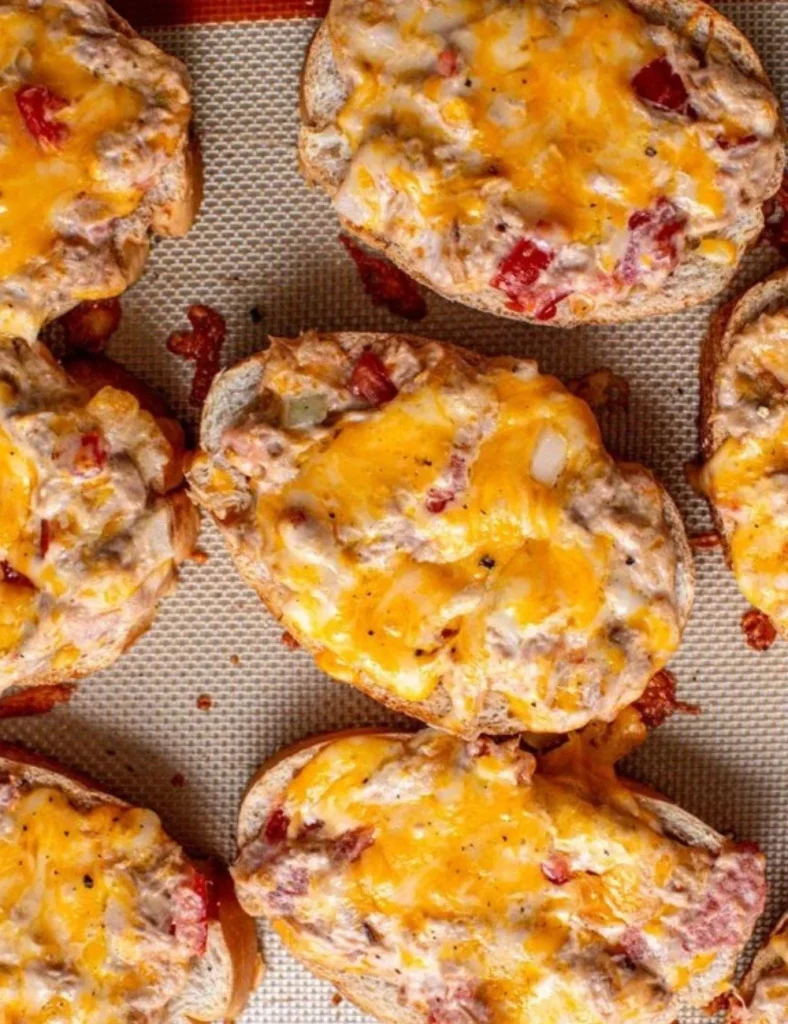
Remove from the oven, let cool slightly to avoid burning your mouth, and serve warm. Enjoy your delicious Easy Tuna Melts!
Tips & Variations
- For a lighter option, you can substitute Greek yogurt for mayonnaise. It adds creaminess without all the calories!
- If you like a little kick, try adding a dash of hot sauce or some diced jalapeños to the tuna mixture.
- Serve these melts with a side of crispy pickles or a light salad for a well-rounded meal.
- Feel free to swap out the bread for whole-grain or gluten-free options depending on your dietary needs!
Delicious Variations
- Classic Grilled Cheese: A childhood favorite, just cheese and bread grilled to perfection!
- Open-Faced Tuna Melt: Skip the top slice of bread and make it a hearty open-faced sandwich with lots of toppings.
- Chicken Salad Sandwich: Switch it up with shredded chicken and your favorite salad fixings.
- Egg Salad Sandwich: A creamy blend of mashed eggs and mayo, perfect for any lunch spread!
Serving Suggestions for Easy Tuna Melts
Serve your Easy Tuna Melts hot, straight from the broiler for the best taste and texture. Pair them with a side of tomato soup for a classic combo that never disappoints.
Alternatively, a crisp green salad adds a refreshing touch that balances the richness of the cheese.
Storage and Leftovers
To store leftovers, keep the sandwiches in an airtight container in the refrigerator for up to 2 days. If you want to freeze them, wrap each sandwich tightly in plastic wrap and then in aluminum foil.
They should maintain good quality for up to 3 months. When you’re ready to enjoy them again, just reheat in the oven until warmed through and crispy!
Helpful Questions
Can I use canned chicken instead of tuna?
Yes, canned chicken works well for a quick alternative!What kind of cheese is best for tuna melts?
Cheddar is a classic, but feel free to experiment with mozzarella, Swiss, or pepper jack for some added flavor!Can I make the tuna mixture ahead of time?
Absolutely! You can prepare the tuna mixture a day in advance and store it in the fridge.Is this recipe suitable for kids?
Yes! Kids typically love the cheesy goodness of tuna melts.What can I serve with easily tuna melts?
Tomato soup, a green salad, or even crisps make delightful accompanying dishes.
Now go ahead and enjoy making these Easy Tuna Melts! They’re not just a meal; they’re an experience that’s bound to bring smiles to the table.
Print
Easy Tuna Melts
- Total Time: 15 minutes
- Yield: 2 servings 1x
- Diet: None
Description
A warm, cheesy tuna melt that’s quick to prepare and packed with flavor, perfect for lunch or a snack.
Ingredients
- 1 can of tuna, drained
- 2 tablespoons mayonnaise
- 1 tablespoon Dijon mustard
- 1/4 cup chopped celery
- 1/4 cup chopped onion
- Salt and pepper to taste
- 4 slices of bread
- 1 cup shredded cheese (cheddar or your choice)
- Butter for spreading
Instructions
- Preheat your broiler.
- In a bowl, combine the drained tuna, mayonnaise, Dijon mustard, chopped celery, chopped onion, and season with salt and pepper. Mix until well combined.
- Spread the tuna mixture evenly on each slice of bread.
- Sprinkle shredded cheese over the top of each slice.
- Butter the outer sides of the bread slices.
- Place the sandwiches under the broiler for 3-5 minutes, until the cheese is melted and bubbly.
- Remove from the oven, let cool slightly, and serve warm.
Notes
For a lighter option, substitute Greek yogurt for mayonnaise. Add hot sauce or diced jalapeños for a kick. Serve with crispy pickles or a light salad.
- Prep Time: 10 minutes
- Cook Time: 5 minutes
- Category: Main Course
- Method: Broiling
- Cuisine: American
Nutrition
- Serving Size: 1 serving
- Calories: 350
- Sugar: 2g
- Sodium: 600mg
- Fat: 18g
- Saturated Fat: 5g
- Unsaturated Fat: 10g
- Trans Fat: 0g
- Carbohydrates: 30g
- Fiber: 2g
- Protein: 20g
- Cholesterol: 45mg
There are no reviews yet. Be the first one to write one.