
Crispy Chicken Tenders Recipe
➤ Introduction for Crispy Chicken Tenders
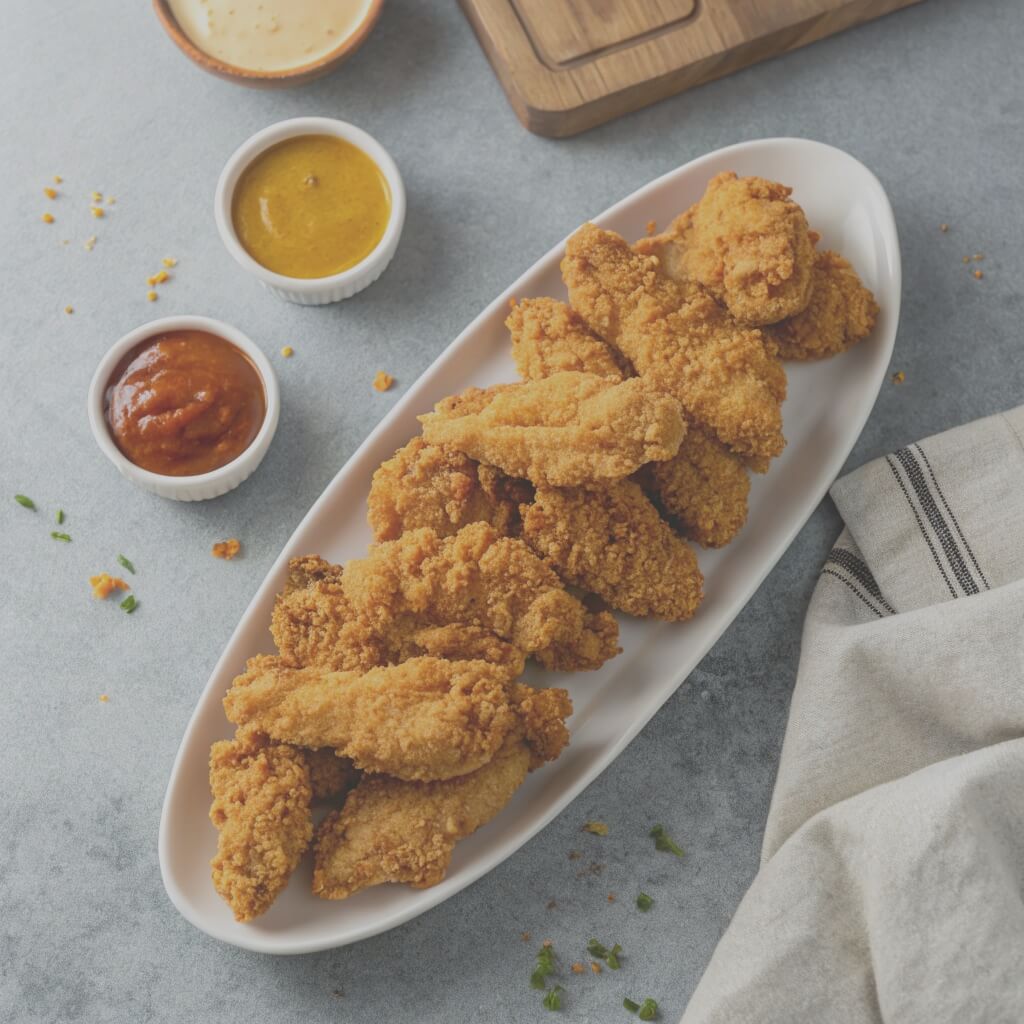
I have to tell you about these crispy chicken tenders that have basically taken over my kitchen. Everyone who comes over asks me to make them now and it’s a bit out of control, now that I think about it.
About a year ago my family really started to get bored with dinners. You know the drill, you are just making the same five meals again and again. I was trying to find something that would satisfy my picky kids but keep my husband and me from choking to death on boredom. The crispy chicken tenders were like winning the lottery.
The first time I made crispy chicken tenders, before I finish cooking the whole batch, they were gone. Everyone was huddled around the stove plucking them right off the cooling rack. I had to start cooking more immediately, they were so nuts over the first batch.
And here’s what makes crispy chicken tenders stellar – I do soak the chicken in buttermilk first which makes them ridiculously tender. Then, there is this coating trick I came up with that gives you that ridiculous, crazy crispy shell that honestly stays crunchy. Even when they sit for a little bit, they do not get soggy like most homemade tenders do.
I am not even exaggerating when I say these beat any restaurant version that I have tried. And to top it off, I actually know what is in them. None of the weird chemicals or ingredients that I cannot pronounce. Just real ingredients that make amazing chicken.
➤ Why I Love This Crispy Chicken Tenders Recipe
• I’m really addicted to these crispy chicken tenders, and for good reason – the first bite is perfection. You get the definite crunch followed by tender juicy chicken. The seasoning penetrates all the way through; it’s not just on the surface. They even stay crispy while you’re dunking them in sauce – which is almost never the case with tenders.
• What really surprises me, is that everybody loves crispy chicken tenders. And by everybody, I mean everybody. My two-year-old nephew devours them, and my foodie friends that come over for dinner devour them too. It’s the one food that makes everyone happy. They’re total comfort food, yet I don’t feel guilty making them because I know exactly what’s in them.
• Now there is almost nothing I don’t use these for. Dinner when people come over? Yep! Tuesday night dinner? Absolutely! I’ll chop them up and add them to salads when I want to make it a bit heartier. Honestly, I’ve even used them for date night, when we want to stay in and want something that feels indulgent.
• But seriously, the dream is that I make massive batches and freeze half. On those insane, busy nights when nothing sounds good and I really don’t have time to cook, I just pull them from the freezer. I can’t believe how well they reheat, like they just came out of the oven. It’s insane, it feels like I have a secret weapon in my freezer that makes me look like I have my life together when I absolutely do not.
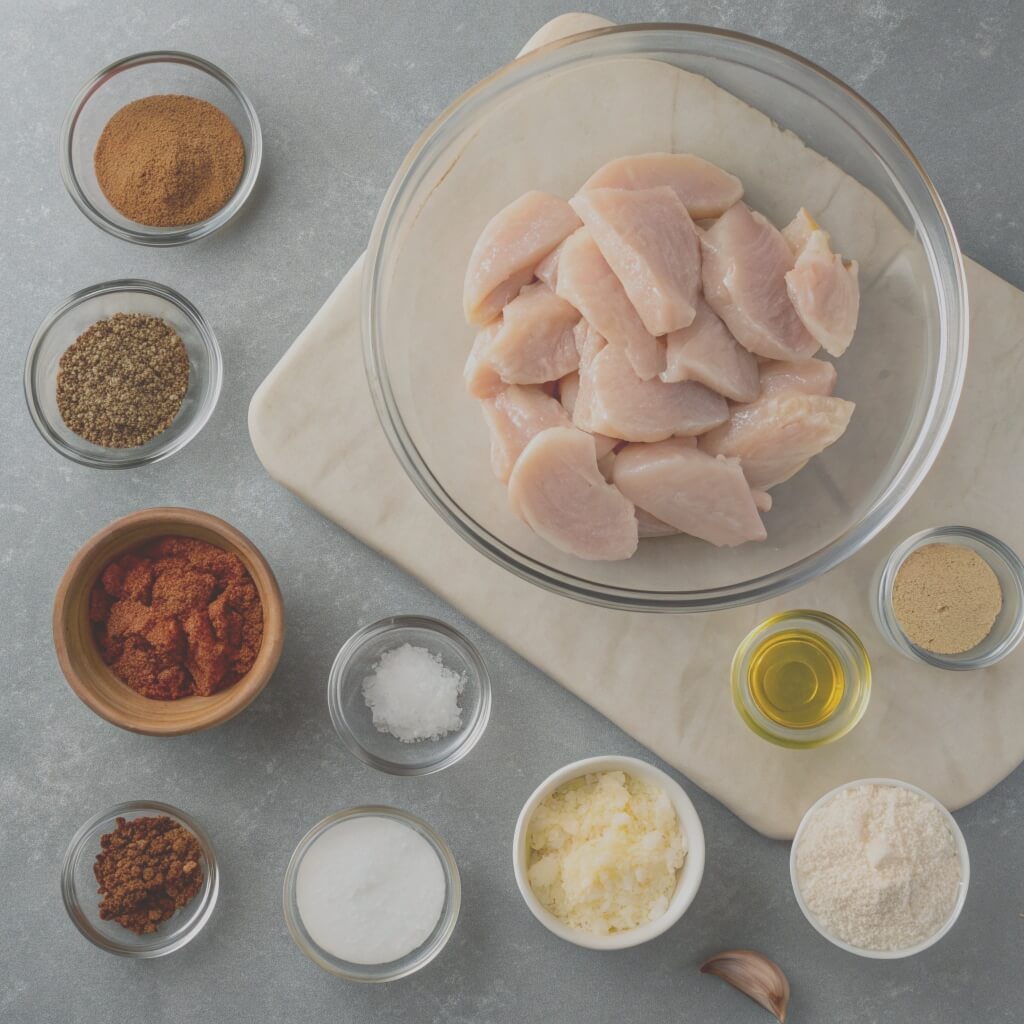
➤ Crispy Chicken Tenders Ingredients
buttermilk bath, take:
•about 2 pounds of chicken tenderloins (or, honestly, just cut up a couple of chicken breasts if that’s what you have—no judgement)
•1 1/2 cups buttermilk (if you want to live your best life, use full-fat buttermilk)
•2 tablespoons kosher salt (trust me, it is worth it)
•1 tablespoon garlic powder
•1 teaspoon smoked paprika (smoky is non-negotiable)
•1/2 teaspoon cayenne (or don’t, if you’re a wimp with spice
the coating that’s going to make these suckers extra crunchy:
•2 cups all-purpose flour
•1/2 cup cornstarch (don’t skip this unless you hate crispy things)
•2 tablespoons garlic powder
•2 tablespoons onion powder
•1 tablespoon smoked paprika
•2 teaspoons kosher salt
•1 teaspoon black pepper
•1 teaspoon dried oregano
•1/2 teaspoon cayenne
•1/2 teaspoon baking powder
For frying, you will need:
•Several cups of vegetable oil (you will need about 3 inches in the pot or whatever you are using).
Here are sauces I often make:
•Honey mustard (honey, dijon, mayo mixed together – laughing emoji here).
•Buffalo sauce with some blue cheese on the side.
•Ranch – obviously.
•BBQ sauce, whatever I have lying around.
•Sweet and sour when I really want to class it up.
Here are some things that take it to the next level:
•Mix some Parmesan cheese in the fry mix.
•Add ranch seasoning powder in the coating.
•Add hot sauce to the buttermilk.
•Some brown sugar in the coating for that caramelization.
➤ How to Make Crispy Chicken Tenders
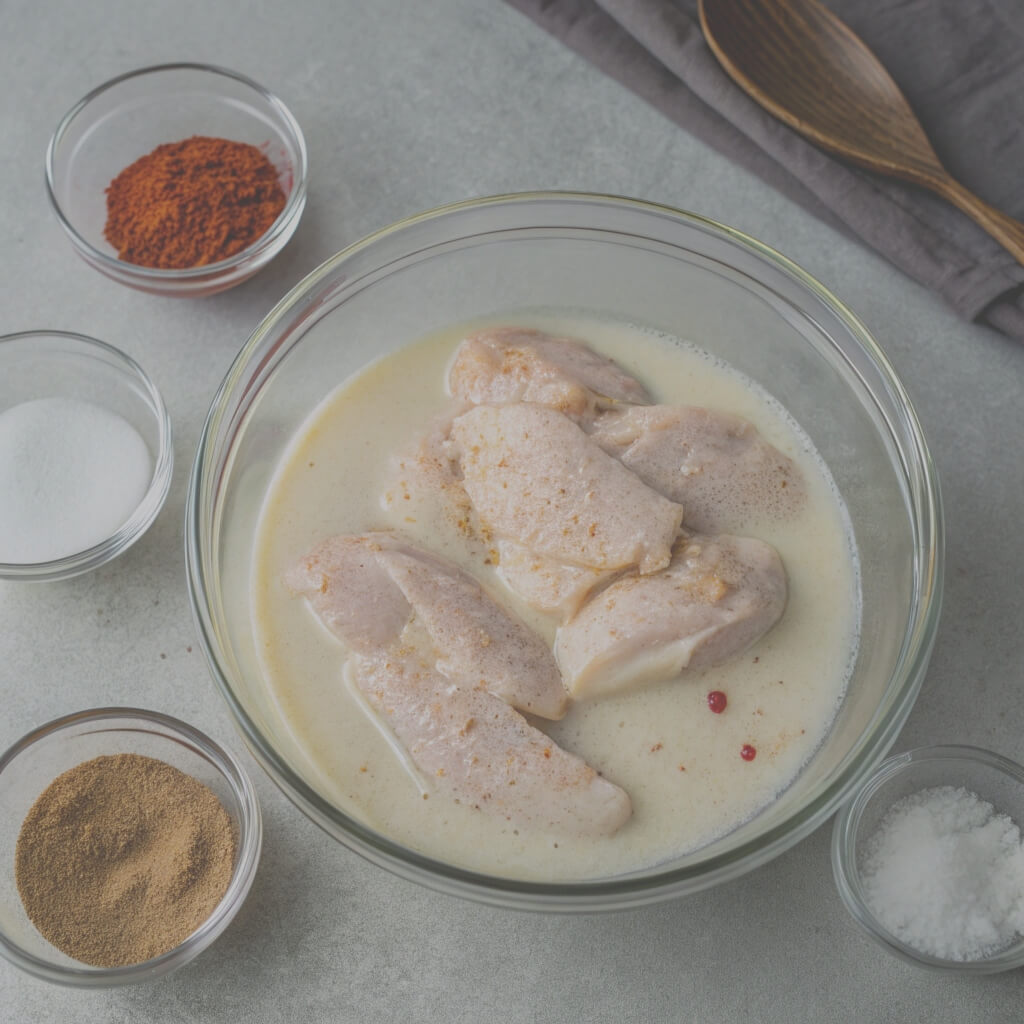
1 • Preparing the chicken
•In a large bowl combine the buttermilk with all the salt and spices. Place the chicken in the buttermilk and cover the chicken completely with the buttermilk mixture. Place in the fridge for at least 2 hours, but I typically make this in the morning for dinner. Every hour is better, so the longer it rests, the better it gets.
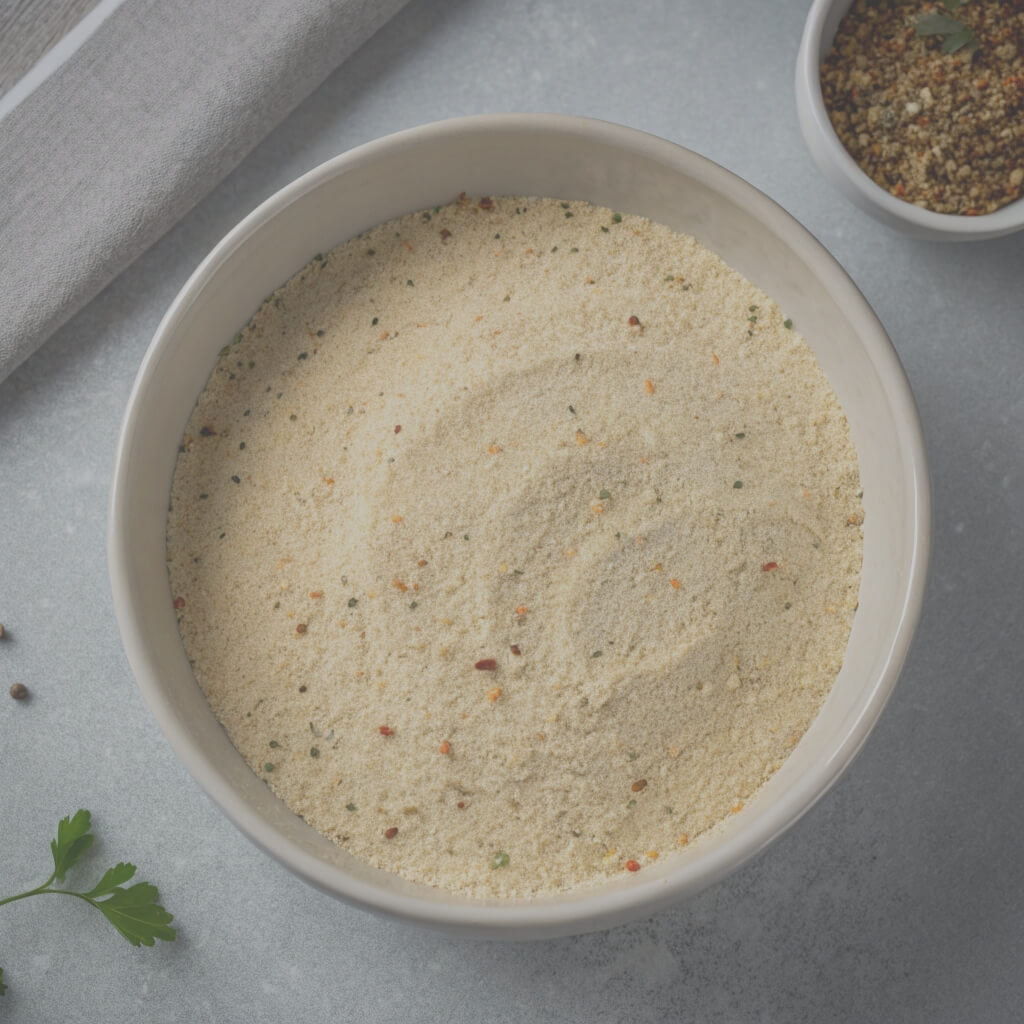
2 • Mixing the coating
•Dump all the flour, cornstarch, and spices into a large shallow dish and mix together really well. This is what will create that unbelievably crispy outer shell, so don’t be stingy in giving it a good mixing.
3 • Getting the oil temperature right
•Heat the oil to 350 degrees. I know everyone says this, but buy a thermometer. I cannot tell you how many batches I ruined trying to eyeball it. If the oil is not hot enough, the chicken will be greasy and if the oil is too hot, it will burn!
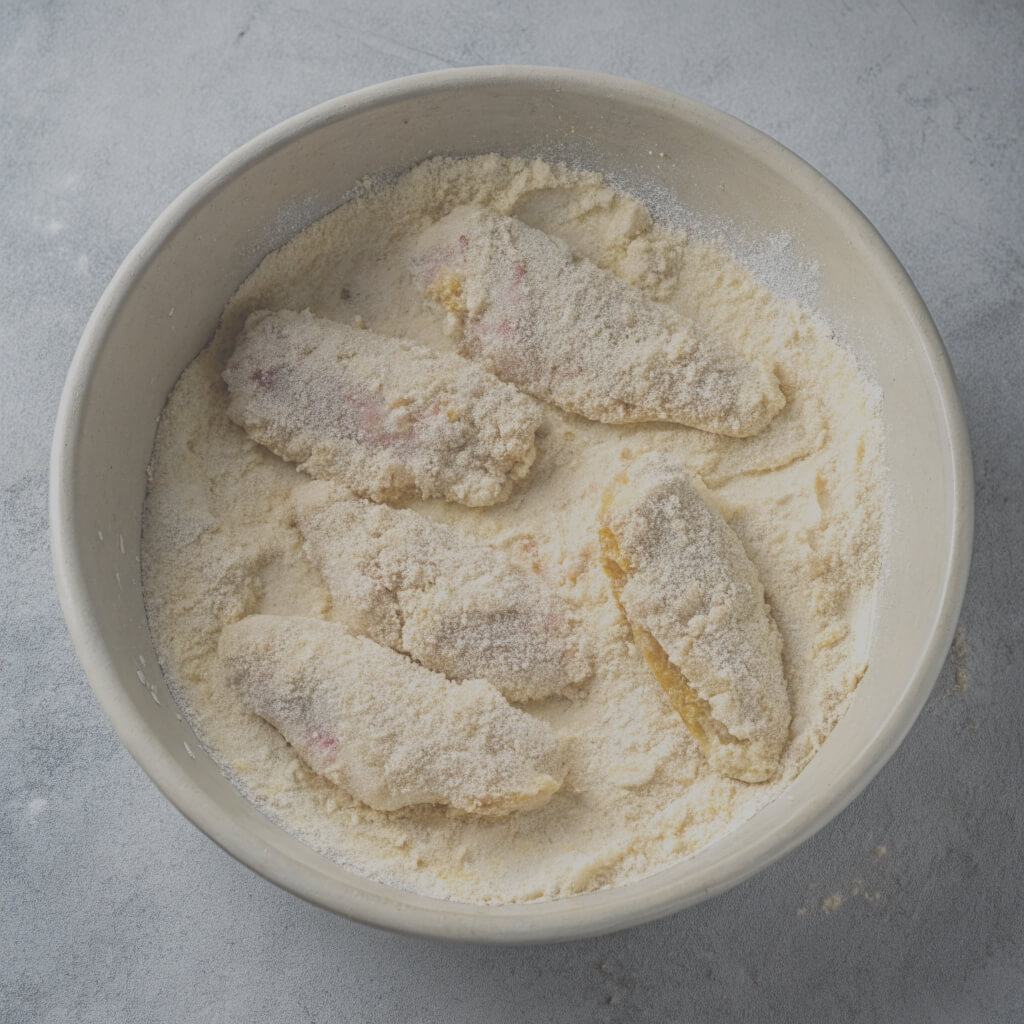
4 • The coating trick that changes everything
•Take the chicken out of the buttermilk but do not shake off the excess, you want it drippy. Roll each piece in the flour mix and really press it down. While this step is them solidifying their first coat, this is where they get really good, then dip them back in the buttermilk quickly, and roll in flour once more. Once you have done that place them on a wire rack and just let them rest for about 10 minutes. I know it is agonizing when you are hungry, but it will be worth it.
5 • Actually frying them
•Do about 4 or 5 pieces at a time, don’t pack them otherwise the oil will cool down and you will wind up with greasy chicken. Fry for about 3-4 minutes until the chicken is this beautiful golden brown. If using a meat thermometer you will want them to have 165 inside.
6 • The final touch
•Use a slotted spoon to pull them out and place on wire racks to drain. Here’s something I learned, if you hit them with a bit of salt right when they come out, while still hot, the seasoning sticks way better.
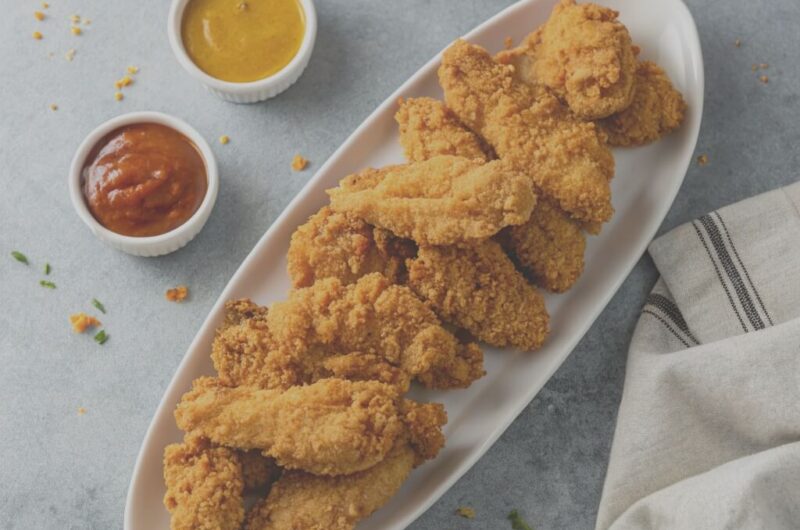
7 • Eat them now
•Do not even consider letting these sit around. They are best eaten while hot and that coating is still crunchy. Grab whatever sauce suits your needs and dig in. That first bite when they are still hot and crispy? Best thing ever.
➤ Crispy Chicken Tenders Tips and Variations
• Don’t skip out on that soaking time – even just 2 hours makes such a difference in how tender and juicy they come out. And that 10 minutes after you coat them? I know it seems dumb, but it helps the coating stick when you fry them. Also, keep your oil between 345 and 355 degrees – I always use a thermometer because eyeballing it never works out.
• Sometimes, I will make Nashville-style with extra cayenne and brush hot sauce on them immediately after frying. Or I will go Asian – I use five-spice powder and a little sesame oil. Italian-style is also phenomenal – parmesan, oregano, and some basil will mix right into the coating. My husband’s favorite is the BBQ version with brown sugar and smoky spices.
• That double-coating you do is why they are so thick and crunchy. Make a point to press the coating into the chicken, you are not just dusting them lightly. Rest them after you coat them, seriously, I used to skip that step and I would lose half the coating in the oil.
➤ Serving Suggestions for Crispy Chicken Tenders
• Crispy chicken tenders are excellent for family dinners where you want something that will please everyone. I have taken them to countless birthday parties for kids and they vanish faster than anything else on the table. Game day? Forget it- people go nuts for these as apps. I have even made them for casual date nights when we want something really filling. They are also awesome for potlucks and picnics because everyone loves them
• I typically serve Crispy chicken tenders with regular fries because, well, what doesn’t go with fries? But, sweet potato fries are pretty great as well, if you are mixing it up. Mac and cheese with these is ultimate comfort food; my kids think it is the best meal in the world! I will also make coleslaw sometimes, because that cool tangy crunch is a great contrast to all the crispiness of the chicken. And, if I am being a little bit healthier, I just put some roasted veggies out, and we’ll balance it all out.
• But here’s the fun part – I will wrap them up in lettuce and ranch for a quick lunch, or chop them up and toss them into a Caesar salad for some serious protein. My husband likes when I make little sliders out of them – just put them on small buns with pickles and sauce. And chicken and waffles for brunch? Game changer.
If you like these Crispy Chicken Tenders as much as I do, try my Crispy Chicken Fritta next! They use a similar seasonings and same crispy directions, just baked instead of fried. Other than way less messy, they also taste just as addicting! Same great flavor without all the oil clean-up!
➤ Storage and Leftovers
• You can definitely plan these ahead of time! I will put the chicken in the buttermilk mixture up to a full day ahead of time – they just get better the longer they sit there. You can also coat them up to 4 hours ahead of time and just leave them in the fridge. Sometimes I’ll do this in the afternoon if dinner is going to be crazy.
• If you do end up with leftovers (which honestly does not happen a lot), they should be fine for about 4 days in the fridge. I learned this the hard way – don’t go covering them right away! Let them rest out for about an hour before putting them in containers so they don’t get steamy and lose that crispiness.
• Whatever you do, do not put them in the microwave! You’ll just be sad with soggy chicken. Just throw in the oven at 375 on a wire rack for 8-10 minutes and they come right back. Or if you have an air fryer, throw them in there! All you need to do is 375 for like 4-5 minutes and they are just as good !
Crispy Chicken Tenders Recipe
Course: Chicken, Lunch, Snacks6
servings20
minutes30
minutes550
kcalIngredients
- buttermilk bath, take:
about 2 pounds of chicken tenderloins (or, honestly, just cut up a couple of chicken breasts if that’s what you have—no judgement)
1 1/2 cups buttermilk (if you want to live your best life, use full-fat buttermilk)
2 tablespoons kosher salt (trust me, it is worth it)
1 tablespoon garlic powder
1 teaspoon smoked paprika (smoky is non-negotiable)
1/2 teaspoon cayenne (or don’t, if you’re a wimp with spice)
- The coating that’s going to make these suckers extra crunchy:
2 cups all-purpose flour
1/2 cup cornstarch (don’t skip this unless you hate crispy things)
2 tablespoons garlic powder
2 tablespoons onion powder
1 tablespoon smoked paprika
2 teaspoons kosher salt
1 teaspoon black pepper
1 teaspoon dried oregano
1/2 teaspoon cayenne
1/2 teaspoon baking powder
- For frying, you will need:
Several cups of vegetable oil (you will need about 3 inches in the pot or whatever you are using).
- Here are the sauces I often make:
Honey mustard (honey, dijon, mayo mixed together – laughing emoji here).
Buffalo sauce with some blue cheese on the side.
Ranch – obviously.
BBQ sauce, whatever I have lying around.
Sweet and sour when I really want to class it up.
- Here are some things that take it to the next level:
Mix some Parmesan cheese in the fry mix.
Add ranch seasoning powder in the coating.
Add hot sauce to the buttermilk.
Some brown sugar in the coating for that caramelization.
Directions
- Step 1: Preparing the chicken
In a large bowl combine the buttermilk with all the salt and spices. Place the chicken in the buttermilk and cover the chicken completely with the buttermilk mixture. Place in the fridge for at least 2 hours, but I typically make this in the morning for dinner. Every hour is better, so the longer it rests, the better it gets. - Step 2: Mixing the coating
Dump all the flour, cornstarch, and spices into a large shallow dish and mix together really well. This is what will create that unbelievably crispy outer shell, so don’t be stingy in giving it a good mixing. - Step 3: Getting the oil temperature right
Heat the oil to 350 degrees. I know everyone says this, but buy a thermometer. I cannot tell you how many batches I ruined trying to eyeball it. If the oil is not hot enough, the chicken will be greasy and if the oil is too hot, it will burn! - Step 4: The coating trick that changes everything
Take the chicken out of the buttermilk but do not shake off the excess, you want it drippy. Roll each piece in the flour mix and really press it down. While this step is them solidifying their first coat, this is where they get really good, then dip them back in the buttermilk quickly, and roll in flour once more. Once you have done that place them on a wire rack and just let them rest for about 10 minutes. I know it is agonizing when you are hungry, but it will be worth it. - Step 5: Actually frying them
Do about 4 or 5 pieces at a time, don’t pack them otherwise the oil will cool down and you will wind up with greasy chicken. Fry for about 3-4 minutes until the chicken is this beautiful golden brown. If using a meat thermometer you will want them to have 165 inside. - Step 6: The final touch
Use a slotted spoon to pull them out and place on wire racks to drain. Here’s something I learned, if you hit them with a bit of salt right when they come out, while still hot, the seasoning sticks way better. - Step 7: Eat them now
Do not even consider letting these sit around. They are best eaten while hot and that coating is still crunching. Grab whatever sauce suits your needs and dig in. That first bite when they are still hot and crispy? Best thing ever.
Notes
- The key is starting with good quality chicken tenderloins that are similar in size. If using chicken breasts, cut them into even strips about 3/4-inch thick. That buttermilk brine is absolutely crucial – it’s what makes these tenders incredibly tender and flavorful throughout.
➤ Crispy Chicken Tenders FAQs
Q: Can I bake them instead?
⤷ A: Yep! Bake at 425 on wire racks about 20-25 minutes. Turn over halfway through and spray with oil. They will not be quite as crispy as fried but still very good.
Q: What if I don’t have buttermilk for this Crispy chicken tenders?
⤷ A: Just take about a tablespoon and a half of lemon juice and add it to regular milk. Let it sit for 5 minutes. It’s not the same thing, but it works all right.
Q: What if I want to use chicken breasts instead of tenders for the Crispy Chicken Tenders?
⤷ A: Sure! Just cut them into strips about 3/4-inch thick and maybe 4 or 5 inches long. Same cooking time and everything.
Q: How can I keep them crispy while I have people over?
⤷ A: Put them in a 200-degree oven on wire racks. They will stay nice and crispy and warm for about an hour while you are working on everything else. Hope you enjoy Crispy Chicken Tenders !
Q: Can I make these gluten-free for Crispy chicken tenders?
⤷ A: Yes, just swap in one of those 1:1 gluten-free flour blends. They will taste just a little different, but they will still get crispy and taste awesome. Enjoy your Crispy chicken tenders!
There are no reviews yet. Be the first one to write one.